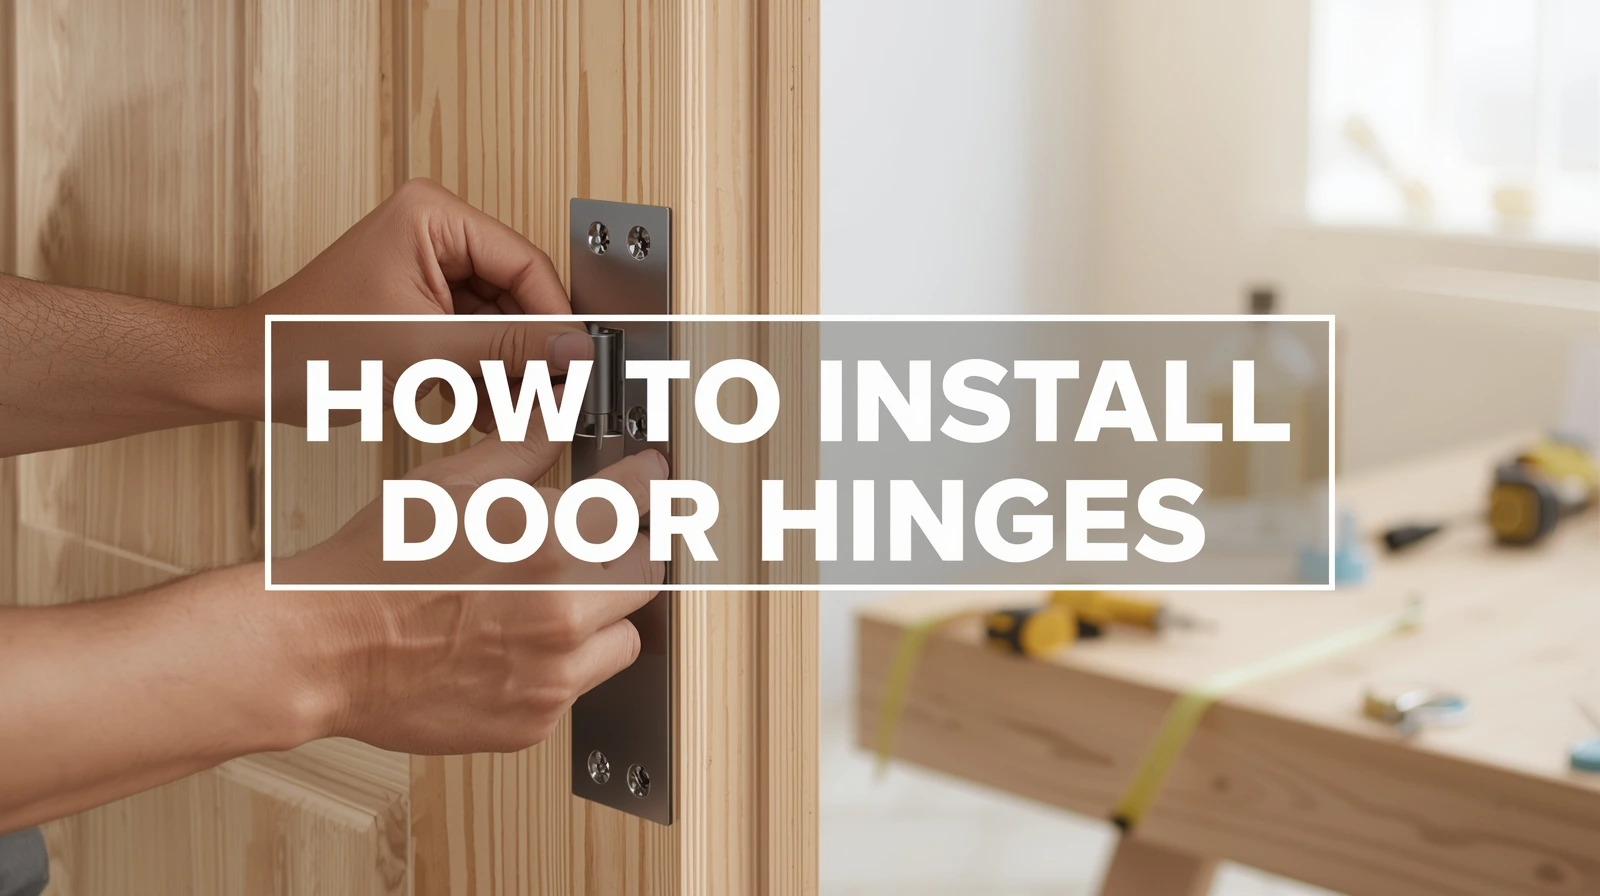
Learning how to install door hinges might seem tricky, but it’s a simple job once you understand the steps. This guide gives you a clear, easy-to-follow method for installing door hinges, choosing the right tools, and fitting your door properly. With the right setup, your door will open smoothly and stay aligned for years. You’ll also find tips on how to fix or replace old hinges if needed.
Why Door Hinges Matter for Smooth and Secure Door Movement
Door hinges are small parts that play a big role. They let your door move freely, keep it aligned, and ensure safety. A well-installed hinge supports the door’s weight evenly, preventing it from dragging or scraping the floor. When hinges are loose or misaligned, the door might creak, sag, or even jam. Installing them properly keeps your doors strong and silent.
People often overlook hinges until they fail, but they are one of the most important components of a stable home. They balance movement and security. A well-hinged door also seals better, improving insulation and reducing unwanted noise.
Understanding the Basics Before You Install Door Hinges
Before you start, know what kind of hinge you’re dealing with. The most common are butt hinges, used for interior and exterior doors. You’ll also find spring hinges for self-closing doors and T-hinges for sheds or gates.
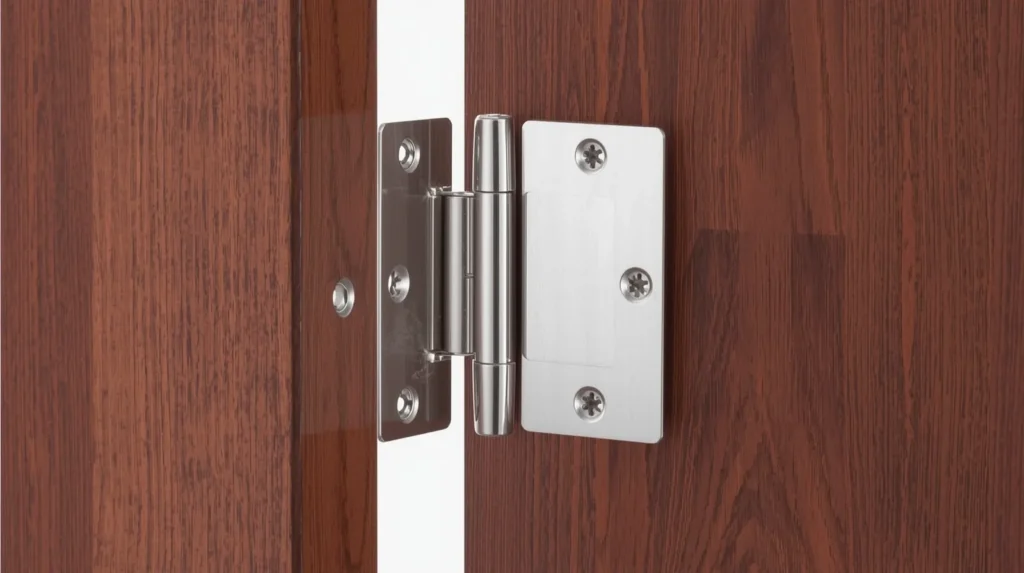
Hinges have two plates connected by a pin. One plate attaches to the door and the other to the frame. When you swing the door, the hinge pin keeps both sides connected.
For a clean installation, always check:
- Door thickness (standard is 1-3/8 to 1-3/4 inches).
- Number of hinges (usually two for lightweight doors, three for heavy ones).
- Screw size and type.
Knowing these basics saves time and prevents mistakes later.
Step-by-Step Process: How to Install Door Hinges the Right Way
If you want to know how to install door hinges correctly, the answer is straightforward: measure, mark, cut, and secure. The goal is to make sure your hinges sit flush with the door edge and frame so the door moves smoothly.
Here’s a quick overview of the process:
- Mark the hinge positions.
- Trace hinge outlines.
- Cut or chisel out shallow mortises.
- Screw hinges onto the door.
- Attach the door to the frame.
Taking time on each step ensures accuracy and a professional result.
How to Fit Door Hinges Correctly for a Perfect Door Alignment
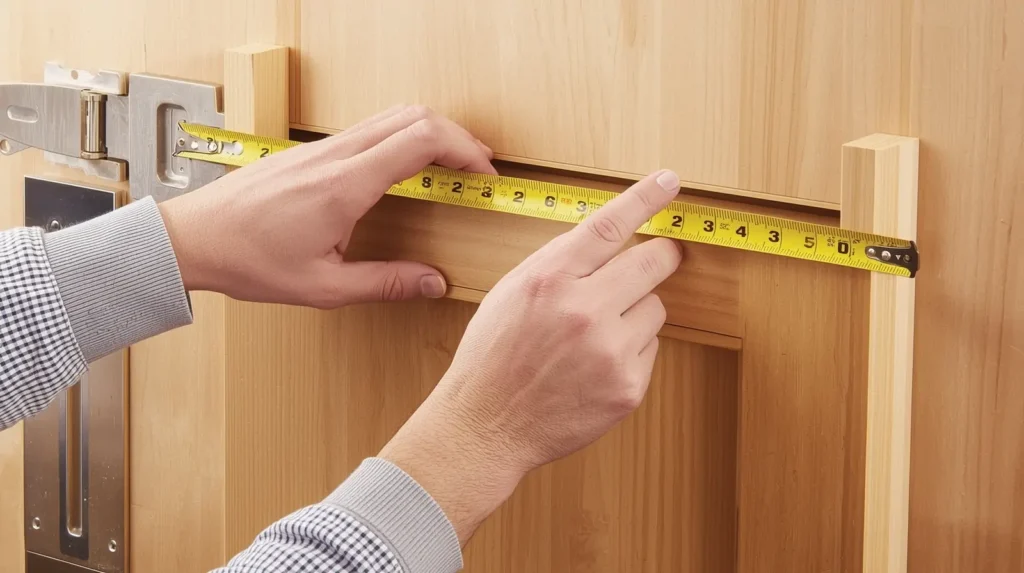
Fitting door hinges is about precision. The top hinge usually sits 7 inches from the top of the door, and the bottom hinge about 10 inches from the bottom. The middle hinge, if used, should go halfway between.
Use a measuring tape and pencil to mark where the hinge will go. Always double-check measurements before cutting. Even a few millimeters off can make the door hang unevenly.
If you’re working on a heavy door, place a wedge under it while fitting hinges to keep it steady. A perfectly fitted hinge helps the door close tightly without slamming or dragging.
Tools You’ll Need for Installing Door Hinges
Having the right tools makes the job much easier. Here’s what you’ll need for door hinge installation:
- Measuring tape and pencil
- Utility knife or chisel
- Hammer or mallet
- Screwdriver or drill
- Screws (usually included with the hinge)
- Level for alignment
- Safety goggles
A tool for installing door hinges like a hinge template or jig can help you cut precise mortises, especially if you’re installing multiple doors.
How to Mark, Cut, and Notch Out a Door for Hinges
This step is where you prepare the door edge. To start, hold the hinge plate against the door and trace around it using a pencil. The traced outline shows where you’ll cut.
Using a utility knife, score the outline to make a clean edge. Then, with a sharp chisel, gently remove the wood inside the lines to create a shallow pocket. This process is known as notching out a door for hinges or cutting hinges into a door.
The hinge should sit flush with the door surface. If it sticks out, the door won’t close properly. Take your time and test the fit before screwing it in place.
Attaching the Hinges: How to Mount and Secure Hinges on the Door
Once your mortises are ready, place the hinge into the recess and align it perfectly with your markings. Insert screws into the pilot holes and tighten them by hand or drill.
How to mount door hinges is all about balance. The hinge must be straight, not tilted. Tighten the screws firmly but don’t over-tighten, as that can strip the wood.
If you’re attaching hinges to a door, always start with the middle screw to anchor the hinge, then secure the remaining ones. This ensures the hinge doesn’t shift during installation.
Installing Hinges on the Door Frame for a Smooth Swing
After mounting the hinges to the door, it’s time to align them with the frame. Stand the door upright near the frame and mark where the hinge plates will sit on the jamb.
Cut matching mortises on the frame, similar to those on the door. Then, screw the hinge plates into place. This step, known as installing hinges on a door frame, ensures smooth motion and prevents the door from binding.
If the door feels tight or uneven, slightly loosen the screws and adjust the hinge until it swings freely. Precision here determines how well your door operates in the long run.
The Right Way to Put a Door Back on Hinges Without Gaps or Tilt
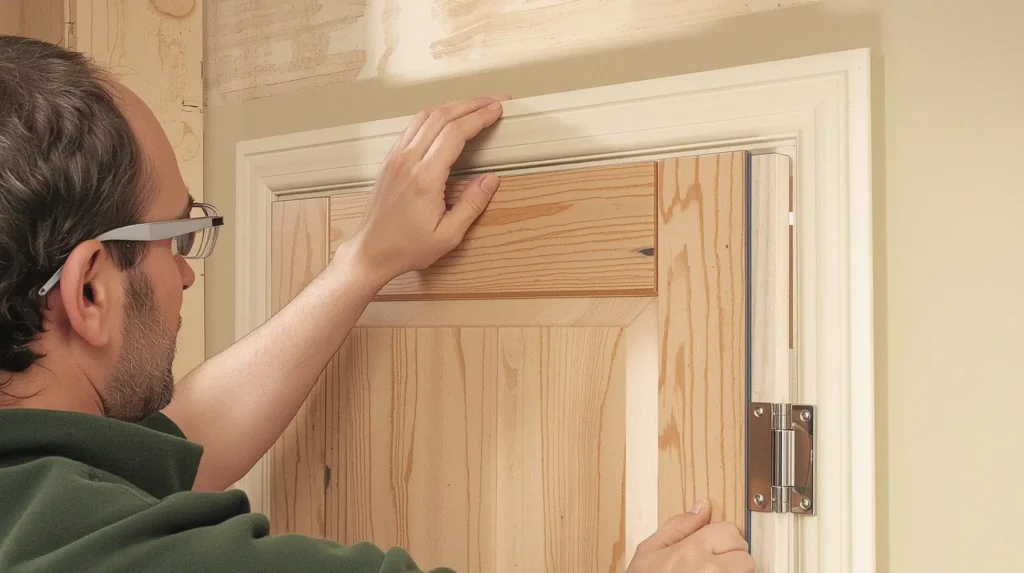
Rehanging the door can be tricky if you’re working alone. Support the door’s weight with a block or helper while aligning hinge leaves with their slots on the frame.
Insert hinge pins starting from the top hinge. Once all pins are in, test the door’s swing. If it rubs against the frame, remove one pin, adjust the hinge slightly, and reinsert it.
This is the final moment where all your effort shows. A door that moves silently and stays level means you’ve done everything right.
Replacing and Fixing Door Hinges: Quick Adjustment Tips
Sometimes, even well-installed hinges wear out. Replacing door hinges or making small fixes is easy once you understand how they work.
If your door squeaks, add a few drops of oil to the hinge pin. For loose hinges, tighten the screws or use slightly longer ones to reach solid wood. If the screw holes are stripped, fill them with wooden toothpicks and glue before reinserting screws.
For door hinge replacement, choose a hinge of the same size and thickness. Repaint or refinish if needed to match your door’s look. These small steps can restore your door’s strength and appearance.
Expert Installation Support in Phoenix, AZ by Capstone Windows & Doors
For homeowners who prefer a professional touch, Capstone Windows & Doors offers expert hinge and door installation services in Phoenix, AZ. Their experienced technicians ensure precise fitting, long-lasting alignment, and a flawless finish. Whether you’re working with new doors or upgrading old ones, having a skilled team saves time and guarantees quality.
Capstone Windows & Doors is known for its attention to detail, safety, and craftsmanship. When you want a door that opens effortlessly and looks beautiful, their team makes sure every hinge, screw, and frame fits perfectly.
Conclusion
Learning how to install door hinges is easier than most people think. With careful measurement, correct tools, and patience, anyone can handle the job at home. Start by marking hinge locations, cutting neat recesses, mounting hinges on both the door and frame, and then aligning everything for a perfect swing. The result is a door that feels sturdy and professional.
By following these steps, you’ll gain confidence and skill. But if you ever need expert help, Capstone Windows & Doors is always ready to make your door installation seamless and secure.
Make your home feel new again. Call today to schedule your hinge or door installation and see how professional precision can transform your space.